Overview
This describes how to install and configure Microsoft SQL Server Reporting Services on an existing server that has SQL Server installed but not Reporting Services.
This guide applies to Microsoft SQL Server Reporting Services 2008 R2.
How To Install
To install Microsoft SQL Server Reporting Services:
- Download the installation file (SQLEXPRADV_x86_ENU.exe) from http://www.microsoft.com/en-gb/download/details.aspx?id=26729.
- Run the SQLEXPRADV_x86_ENU.exe installation.
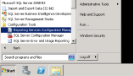
- From the SQL Server Installation Centre select "New installation or add features to existing installation".
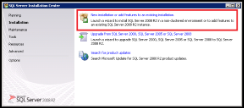
SQL Server Installation Centre
- From the Installation Type screen select "Add feature to an existing instance of SQL Server 2008 R2", ensure that the correct instance of SQL Server is selected (the default is CALLRECORDER), then click on Next >.
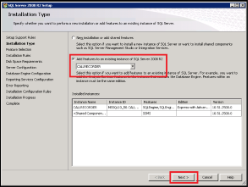
Installation Type
- Check the Reporting Services option, then click on Next >.
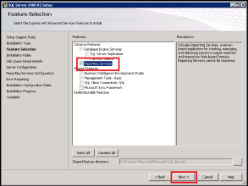
Feature Selection
Server Configuration screen leave the defaults (to using the NETWORK SERVICE account) then click on Next >.
- From the Reporting Services Configuration screen, check "Install, but do not configure the report server" is selected then click on Next >.
- Click Next until the installation starts and the Installation Progress screen is shown.</>
- The installation is complete once the Complete screen is displayed, click on Close.
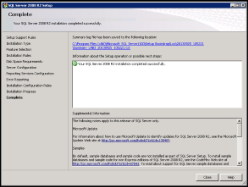
Complete
- Follow the How To Configure steps to configure Reporting Services.
How To Configure
To configure Microsoft SQL Server Reporting Services once installed:
- From the reporting server, from the Start Menu open Start -> All Programs -> Microsoft SQL Server 2008 R2 ->Configuration Tools -> Reporting Services Configuration Manager.
Start Menu
- From the Reporting Services Configuration Connection, enter the server name, click Find and select the correct instance (default CALLRECORDER), click on Connect..
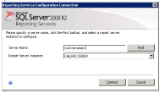
Connection
- From the Service Account section select "Use built-in account" and select "Network Service", then click on Apply.
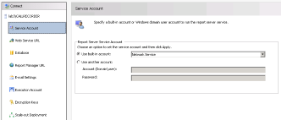
Service Account
- From the Web Service URL section set the Virtual Directory to "ReportServer_CALLRECORDER", and leave the other settings as default, then click on Apply.
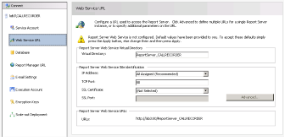
Web Service URL
- From the Database section click on Change Database.
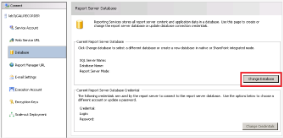
Database
- From the Action section, select the Create a new report server database, click Next.
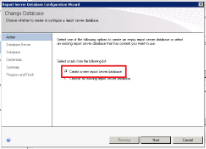
Change Database - Action
- From the Database Server section, configure the server and database instance name, i.e. <servername>\CALLRECORDER, then click on Next.
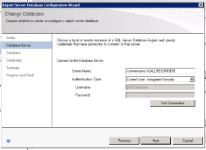
Change Database - Database Server
- From the Database section, leave the defaults and click on Next.
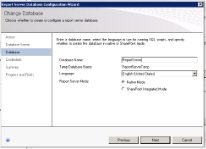
Change Database - Database
- From the Credentials section, leave the defaults and click on Next.
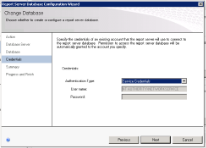
Change Database - Authentication
- From the Summary section, review the settings and then click Next to save the changes.
- When the process is complete click on Finish.
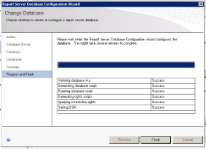
Change Database - Finish
- From the Report Manager URL section, check the Virtual Directory is set to "Reports_CALLRECORDER", click on Apply.
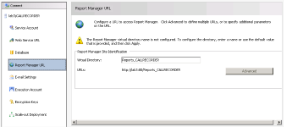
Report Manager URL
- Click on Exit to close the Reporting Services Configuration Manager.
- From the Website configuration section set the Report Server URL to be http://localhost/reportserver_callrecorder.
- The configuration is now complete.